Water damage can be a daunting challenge for any homeowner. Whether it stems from a leaky pipe, a storm, or an unfortunate accident, dealing with water damage effectively is crucial to minimizing its effects. Understanding the restoration timeline can help you prepare and feel more in control during the repair process. This guide will walk you through what to expect, making the journey to restoring your home less overwhelming.
1. Initial Assessment and Damage Control
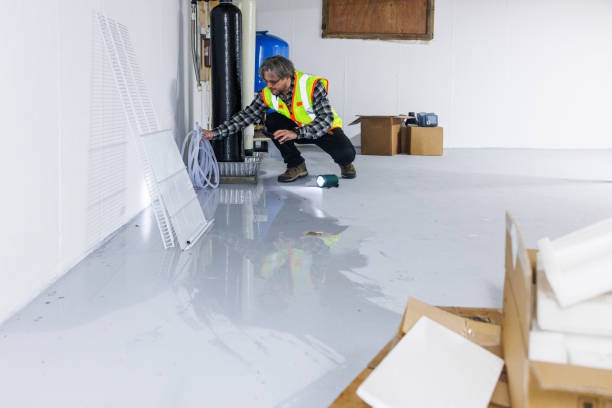
The first step in water damage repair involves a thorough assessment of the affected areas. This typically starts with a visual inspection to gauge the extent of the damage. During this stage, professionals will:
-
Identify the source of the water and stop it.
-
Evaluate the level of contamination, often defined as clean, gray, or black water.
-
Determine the scope of damage to structural components, furniture, and other belongings.
This phase may take a few hours to a day, depending on the severity of the incident. With the source identified and stopped, your restoration team can move forward with a tailored plan for recovery.
2. Water Extraction and Drying
Once the source of water intrusion is controlled, the focus shifts to water extraction and drying. Swift action is essential to prevent secondary damage, such as mould growth, which can set in within 24-48 hours. Professionals will use specialized equipment like pumps and vacuums to remove standing water quickly. After extraction, the drying process begins. This involves:
-
Using high-powered fans and dehumidifiers to accelerate evaporation.
-
Monitoring moisture levels to ensure no hidden dampness is left behind.
-
Removing any materials that are too saturated to salvage.
This stage can last anywhere from two days to over a week, depending on factors like the amount of water involved, the types of materials affected, and environmental conditions.
3. Mould Mitigation
Mould is a common concern following water damage. Even if water removal is timely, mould spores can proliferate if any moisture remains. This is where experts, such as PuroClean mould removal experts, come in to ensure affected areas are thoroughly inspected and treated if necessary. Mould remediation might involve:
-
Applying antimicrobial treatments to prevent mould growth.
-
Removing materials that cannot be salvaged.
-
Cleaning and sanitizing restorable items.
The process of mould mitigation could add a few more days to your overall restoration timeline, but it is critical to ensure a safe living environment.
4. Repairing and Restoring
With affected areas dried and decontaminated, the next step involves repairing and restoring your home to its pre-damage state. The extent of repair will depend on the level of damage, which might include:
-
Replacing drywall, insulation, and flooring.
-
Repainting walls.
-
Repairing or replacing damaged fixtures and appliances.
This phase is typically the longest, ranging from a few days for minor repairs to several weeks for extensive structural fixes. It’s important to communicate clearly with your restoration team to understand specific timelines and expectations.
5. Final Inspection and Quality Assurance
After repairs and restorations are completed, a final inspection ensures everything is in satisfactory condition. This step includes:
-
A walkthrough to ensure all work meets quality standards.
-
Checking that affected areas are fully restored and safe.
-
Addressing any remaining concerns or unfinished tasks.
The final inspection is usually a collaborative effort between you and the restoration team, emphasizing the importance of communication and satisfaction.
6. Choosing the Right Professionals
Selecting a reputable restoration service is key to a successful recovery journey. Look for professionals with experience and positive reviews. Although your situation might be urgent, take the time to ensure the team you choose has the credentials and track record to deliver quality results. This will assure you that the timeline and outcomes of the restoration process meet your needs.
7. Reviewing Insurance Policies
Understanding your insurance coverage is vital when dealing with water damage. Different policies cover different aspects of water damage, and knowing the specifics can facilitate a smoother restoration process. Here’s what you might consider:
-
Know what’s covered: Clarify which types of water damage are included in your policy.
-
Document everything: Take photos and keep records of all communications with your insurance provider.
-
Involve your adjuster: Work with your insurance adjuster from the start to streamline claims and approvals.
Being prepared with comprehensive information ensures that financial aspects don’t delay your restoration timeline.
8. Maintaining Preventative Measures
After your home is restored, it’s crucial to put preventative measures in place to reduce the risk of future water damage. Here’s how you can protect your home:
-
Regularly inspect your plumbing systems for leaks.
-
Ensure gutters and downspouts are clean and functioning.
-
Install water detection devices in vulnerable areas.
With proactive maintenance, the risk of unforeseen water damage can be remarkably lowered, keeping your home safe and secure.
9. The Role of Professional Support
It’s understandable to feel stressed when dealing with water damage. However, know that professional help is always available. A company specializing in water removal in Mississauga, ON, can guide you through each step with expertise and efficiency. This informed support can significantly improve your overall experience and help you avoid future issues.
Final Thoughts
Water damage repair can seem overwhelming at first glance, but understanding the restoration timeline can ease concerns and set you on a path to successful recovery. From initial assessments to preventive actions, each stage requires thoughtful attention and communication. By partnering with skilled professionals and maintaining some vigilance at home, you can navigate the water damage restoration process smoothly and restore your home with confidence.